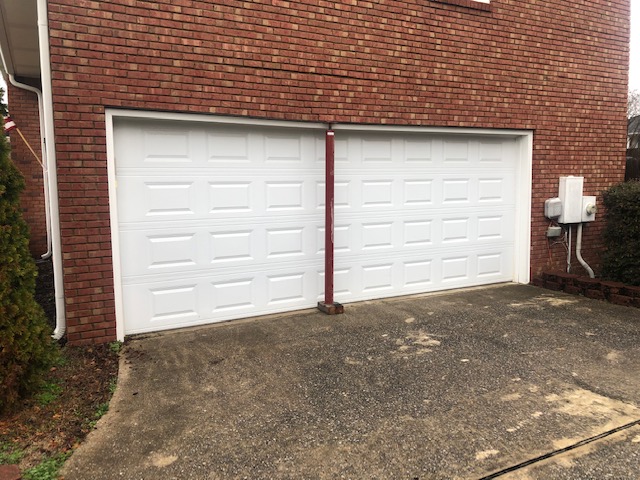
Signs Your Lintel Needs Support
Most homeowners are on the lookout for common issues around their homes. Whether it’s clogged gutters or a plumbing problem, there are usually warning signs you’ll notice when something is going wrong in your home. So, when you’ve noticed the signs of a failing lintel, like cracks in the brickwork above a garage lintel that’s starting to sag near the center, it’s not simply standard aging. Our patented solution can stop lintel failure in its tracks by providing the extra support your garage door needs.
The Lintel Lift Process
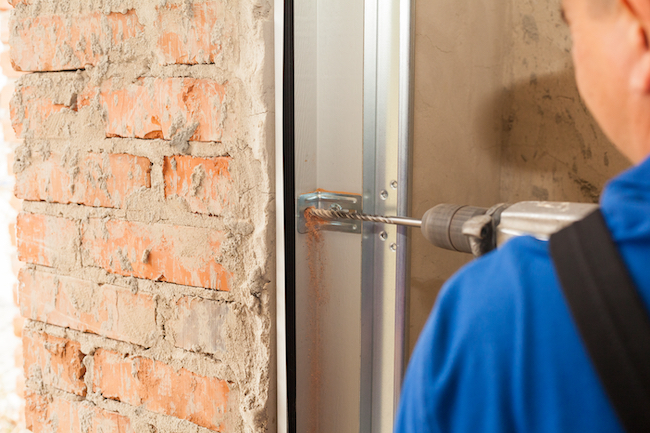
These are the steps each of our installers will follow to ensure your Lintel Lift system is installed properly and will operate as intended.
Step 1: Remove all dislodged or damaged mortar, mark the area where column feet will be installed, and remove any concrete needed to create level footing. Remove garage passcode pad if necessary.
Step 2: Frame out the garage door with wooden boards. Check to make sure each side column has a 4–6 inch clearance on both sides before attaching them.
Step 3: Use lag bolts to attach columns and secure the jack screws in place. Remove any keystones or ornamental elements.
Step 4: Place support beam and turn jack screws until beam is both level and snug against the bottom of the existing lintel. Secure beam by screwing it into place.
Step 5: Clean the surface of the Lintel Lift system so the decorative covers can be adhered properly. Replace any keystones or ornamental elements which were removed during the process.
Need A Lift?
If you’ve noticed your garage door is drooping and there’s cracks appearing in the brickwork above it, it’s time to call the experts at Lintel Lift. We’ll install the most trusted and only patented solution on the market to create support and stability for your sagging garage.